Online User Guide
MENUS & INTERFACE
MENUS & INTERFACE (Desktop)
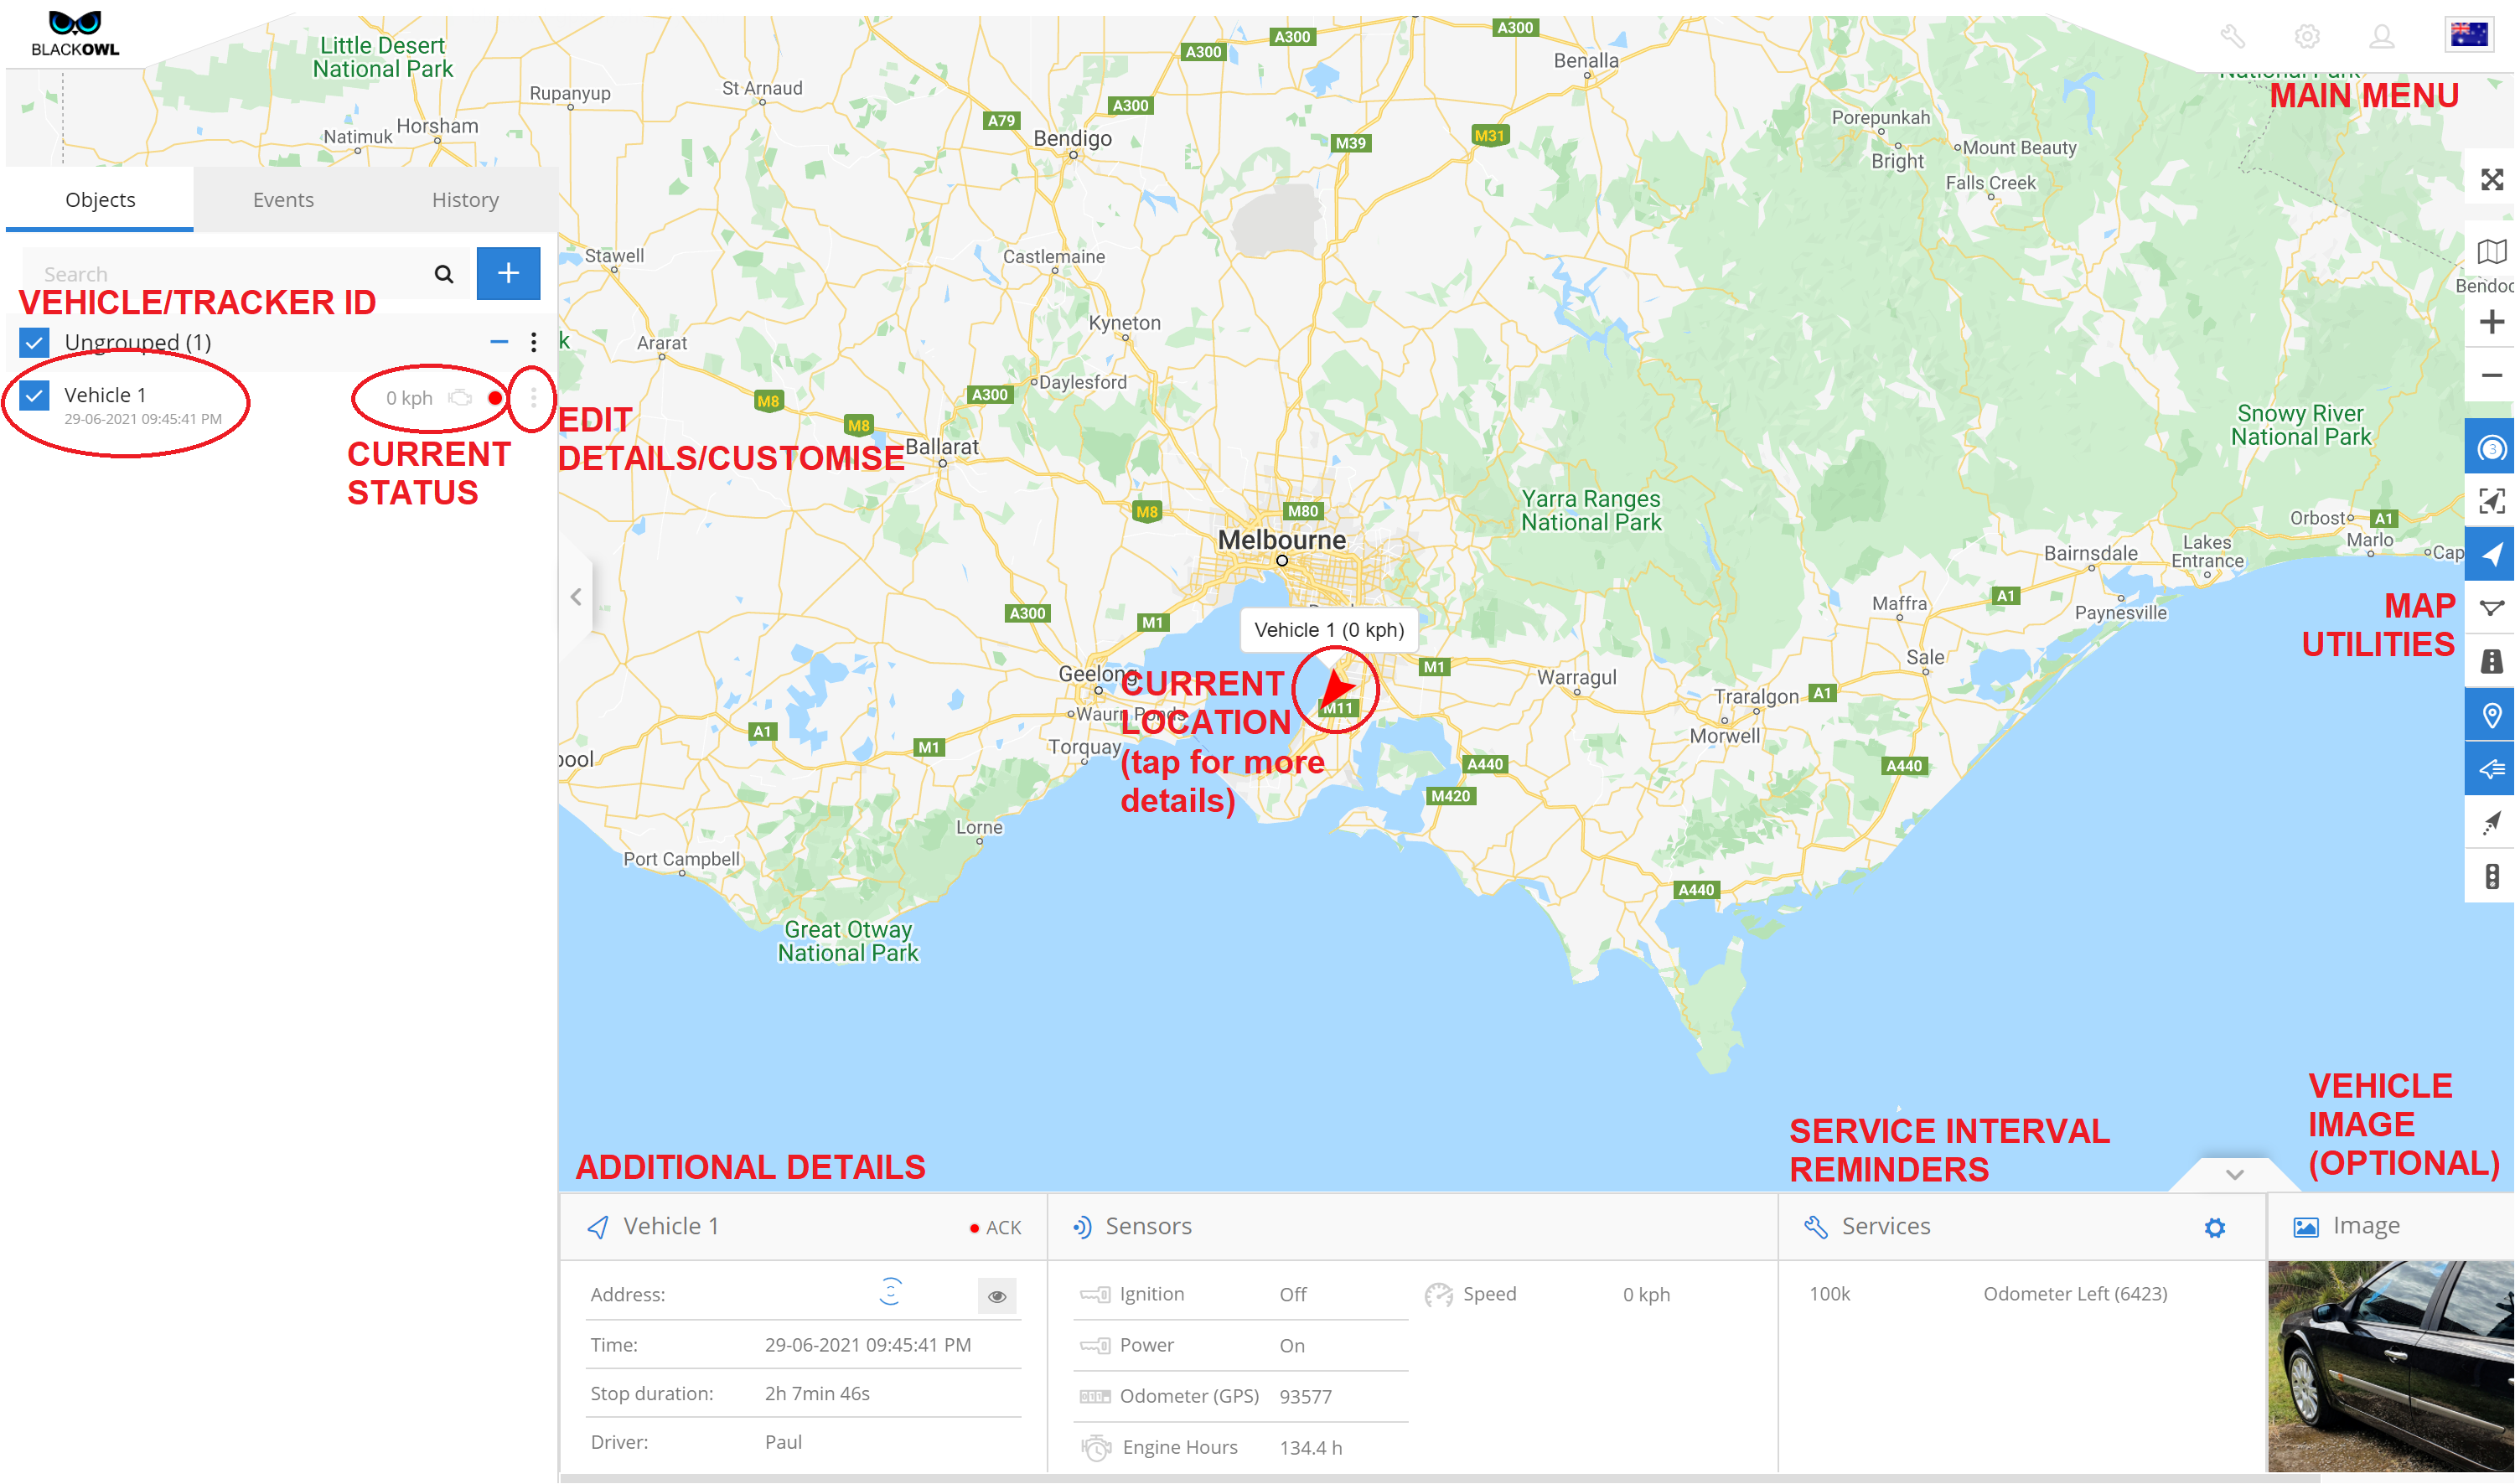
Main Screen

Tools Menu

Setup Menu

My Account Menu

Map Utilities

MENUS & INTERFACE (Mobile app)
Main Screen

Main Menu

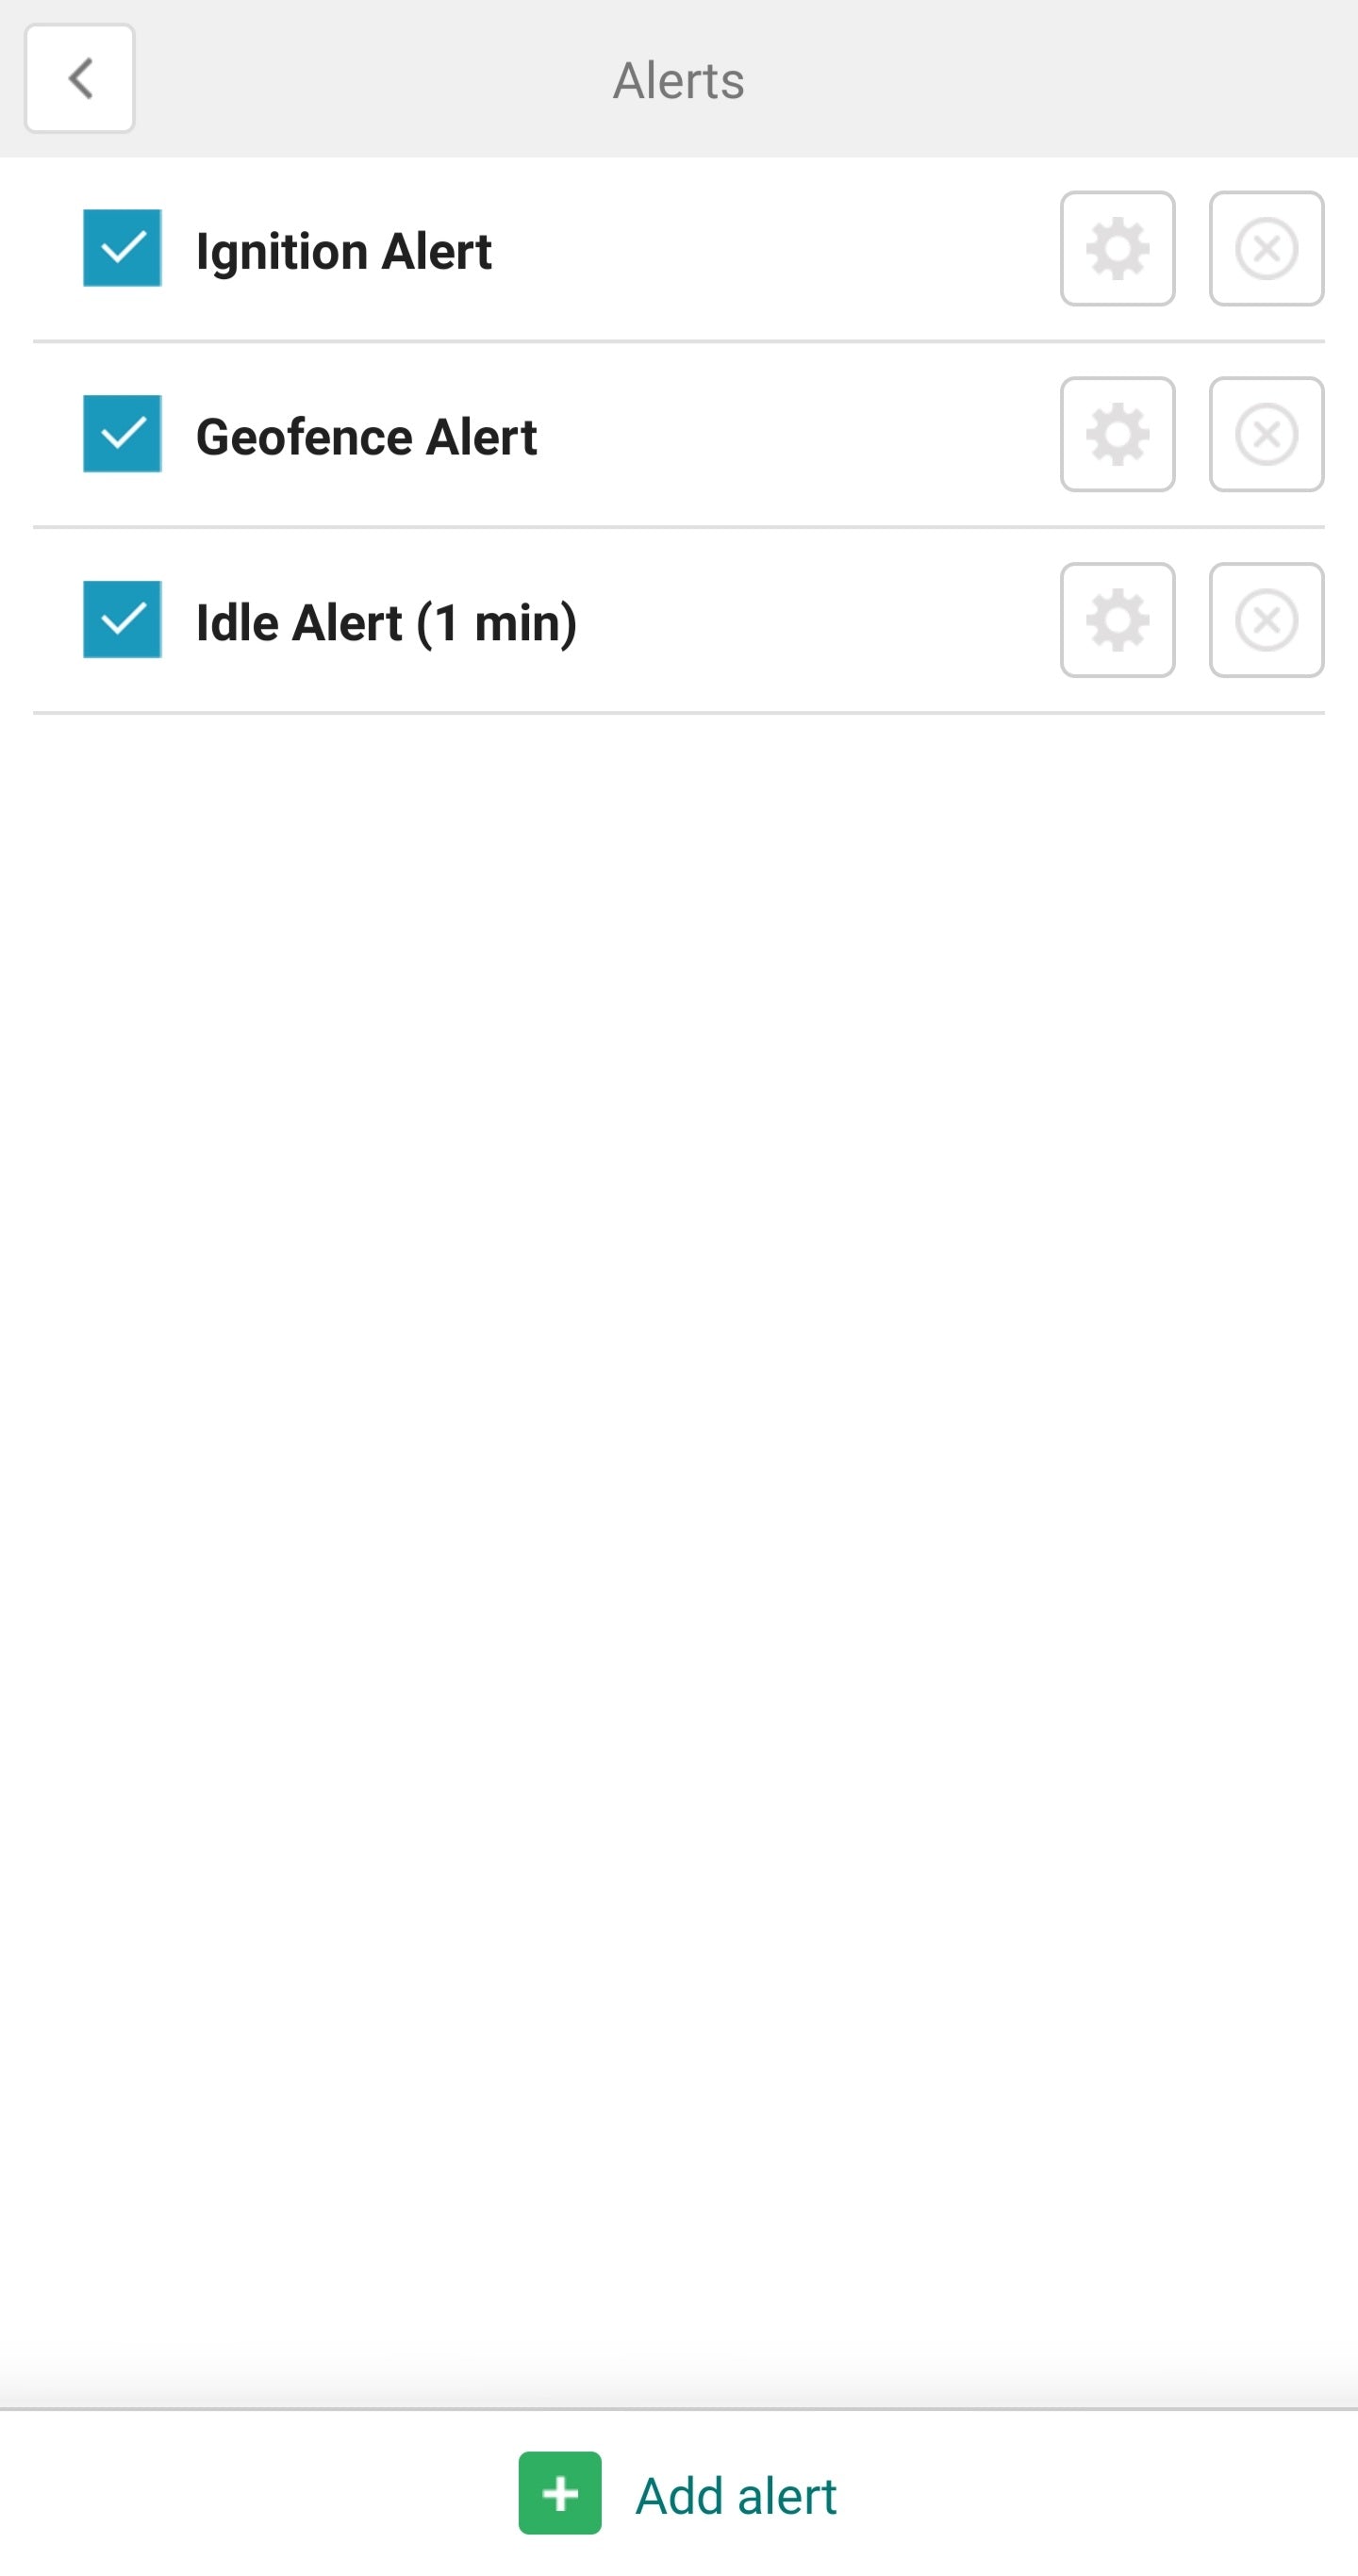
Events/Alerts
All events & alerts will be displayed in the top right menu

Map Utilities


Geofences (Desktop)
- In the Main Menu, go to Tools > Geofencing

- In the left tab, click the + button to create a new Geofence

-
Draw your Geofence with your mouse by clicking your desired points on the map. Close your geofence by joining the first and last points. Give it a name, choose its colour and click Save.

Then, to setup Geofence Alerts complete the following steps:
- In the Main Menu, go to Tools > Alerts

- In the left tab, click the + button to create a new Alert

-
Name your Alert and select which vehicles it will be triggered by.

- Select your preferred Geofence Alert type from the dropdown box. For Geofence In/Out, you will receive Alerts whenever vehicles enter or exit the area. Remember, multiple geofences can be selected at this step.
- You can further customise alerts with the Schedule feature.

- Select your Notification preferences and click Save.
Geofences (Mobile App)
-
In the Main Menu (top left corner), go to Tools > Geofencing

-
Tap Add geofence at the bottom of the screen

- Give your geofence a name and select an optional colour (HEX code), then tap DRAW POLYGON. Pinch to zoom in on the map and tap the screen to create your geofence. Remember to close your geofence by joining the first and last points on the map. Tap SET DATA.


- Your Geofence is now active and can be toggled or deleted using this screen. Note: Geofences can only be edited via the Web Platform.

- To setup Geofence Alerts go to Tools > Alerts
- Tap Add alert. Name your Alert and select which vehicles it will be triggered by.
- Select your preferred Geofence Alert type. For Geofence In/Out, you will receive Alerts whenever vehicles enter or exit the area.
- You can further customise alerts with the Schedule feature.
- Click Save.
Alerts (Desktop)
-
In the Main Menu, go to Tools > Alerts

- In the left tab, click the + button to create a new Alert

- Name your Alert and select which vehicles it will be triggered by.

- In the Type tab, select your preferred Alert from the drop down menu. Additional alert options for your GPS hardware can be found under Custom events (e.g. Removal alerts for Portable hardware)
*note: some alert types may be unavailable for your hardware
- You can further customise alerts with the Alert Schedule feature.

- Select your Notification preferences and click Save.
Alerts (Mobile App)
- In the Main Menu, go to Tools > Alerts and click Add alert

- Tap Add alert. Name your Alert and select which vehicles it will be triggered by

-
In the Type tab, select your preferred Alert from the drop down menu. Additional alert options for your GPS hardware can be found under Custom events (e.g. Removal alerts for Portable hardware)
*note: some alert types may be unavailable for your hardware
- Select your Alert Schedule. If no schedule is enabled then alerts will be sent at all times.
- Select your Notification preferences and click Save.
TRACKING HISTORY (Desktop)
-
Click the History tab on the left side of the screen. Select which vehicle you want to display tracking history for, and choose your preferred dates within a 30 day period.
Advanced features are also available including customised stops and a Snap to Road feature.
- Click Show History to display tracking data on the map

TRACKING HISTORY (Mobile App)
-
Go to the Main Menu > History

- Select which vehicle you want to display tracking history for, and choose your preferred dates within a 30 day period.

- History data can be shown in 4 different ways
- Data Log
- Statistics Graph
- Map
- Route -
Data Log displays timestamps and other raw data from your tracker.

-
Statistics Graph gives a summary of vehicle speed, distance travelled and other sensors such as Ignition and Virtual Odometer (if enabled)

-
Map displays all tracking data from your selected period on the map.

-
Route summarises all driving, stops and Events

REPORTS (Desktop)
-
In the Main Menu, go to Tools > Reports

- Select your report preferences on the following screen and click Generate for an instant report, or Save your preferences for scheduled, automatically generated reports

- Scheduled report logs can be found in the third tab and can be downloaded or deleted at anytime.
REPORTS (Mobile App)
-
In the Main Menu, go to Tools > Reports

- Click Create a new report and select your report preferences. Add an optional schedule for automatically generated reports and click Save the report


VIRTUAL ODOMETER + SERVICE REMINDERS (Desktop)
- Firstly, we must add a virtual odometer sensor.
Go to the left tab, click the 3 dots next to your tracker's ID/name and click Edit
- Go to Sensors > Add Sensor

- Follow the steps in the image below to add your virtual odometer sensor and click Save. In this example, we have named our sensor 'Odometer (GPS)' and have entered a current odometer reading of 10000km. The virtual odometer reading can be adjusted at anytime in the Sensors tab.

- After refreshing your browser, your tracker's virtual odometer should now appear in the Sensors tab at the bottom of your screen

- Next, click the Add Service button in the Services tab (next to Sensors)

- Select your service preferences and click Save.
In this example, we have created a reminder with the following preferences:
- 20,000km service reminder
- service intervals every 10,000km
- reminder at 1000km before service is due
VIRTUAL ODOMETER + SERVICE REMINDERS (Mobile App)
COMING SOON
GROUPS (Desktop)
COMING SOON
GROUPS (Mobile App)
COMING SOON
CUSTOMISATION (Desktop)
COMING SOON
CUSTOMISATION (Mobile App)
COMING SOON

